这学期我选了一门数据科学的课,于是开始用上了 Jupyter。此前我对它和数据科学都几乎零接触。了解了 Jupyter Notebook 的形态之后,我觉得把它跑在云端比本地更合适。好在官方已经为不同用途提供了多种 Docker 镜像。本文记录我如何在家里的服务器上部署 Jupyter,并把它安全地暴露到公网。
本文默认该 Jupyter 服务仅供「单用户/自用」,不做多用户管理。
在 Docker 中运行 Jupyter
选择镜像
不确定应该选哪一个镜像?看这里的对照表:Selecting an image。
比如老师说这门课会用到 pandas,那就在页面里搜 pandas,我就找到了 jupyter/scipy-notebook 适合我。
如果像我一样没什么经验,建议先用最轻量的镜像起步。
创建工作目录
因为 Jupyter 跑在容器里,需要准备一个宿主机目录供 Jupyter 读写。
顺带一提,jovyan 是 Jupyter 及其官方镜像的默认用户。
1
2
3
4
|
# 创建工作目录
mkdir -p /{your server dir}/jupyter/jovyan/.jupyter
# 确保 Jupyter 进程有读写权限
chmod 777 -R /{your server dir}/jupyter/
|
启动容器
运行 Jupyter 容器:
1
2
3
4
5
6
|
docker run -d \
    --name jupyter-server \
    --mount type=bind,source=/{directory}/jupyter/jovyan,target=/home/jovyan \
    --net=host \
    --restart=unless-stopped \
    jupyter/scipy-notebook:notebook-6.5.4
|
注意:这里将宿主机目录挂载到容器内的 /home/jovyan(官方镜像默认工作目录)。
Jupyter 配置
此时本机访问已经可用,但远程使用前还需要做一些设置。
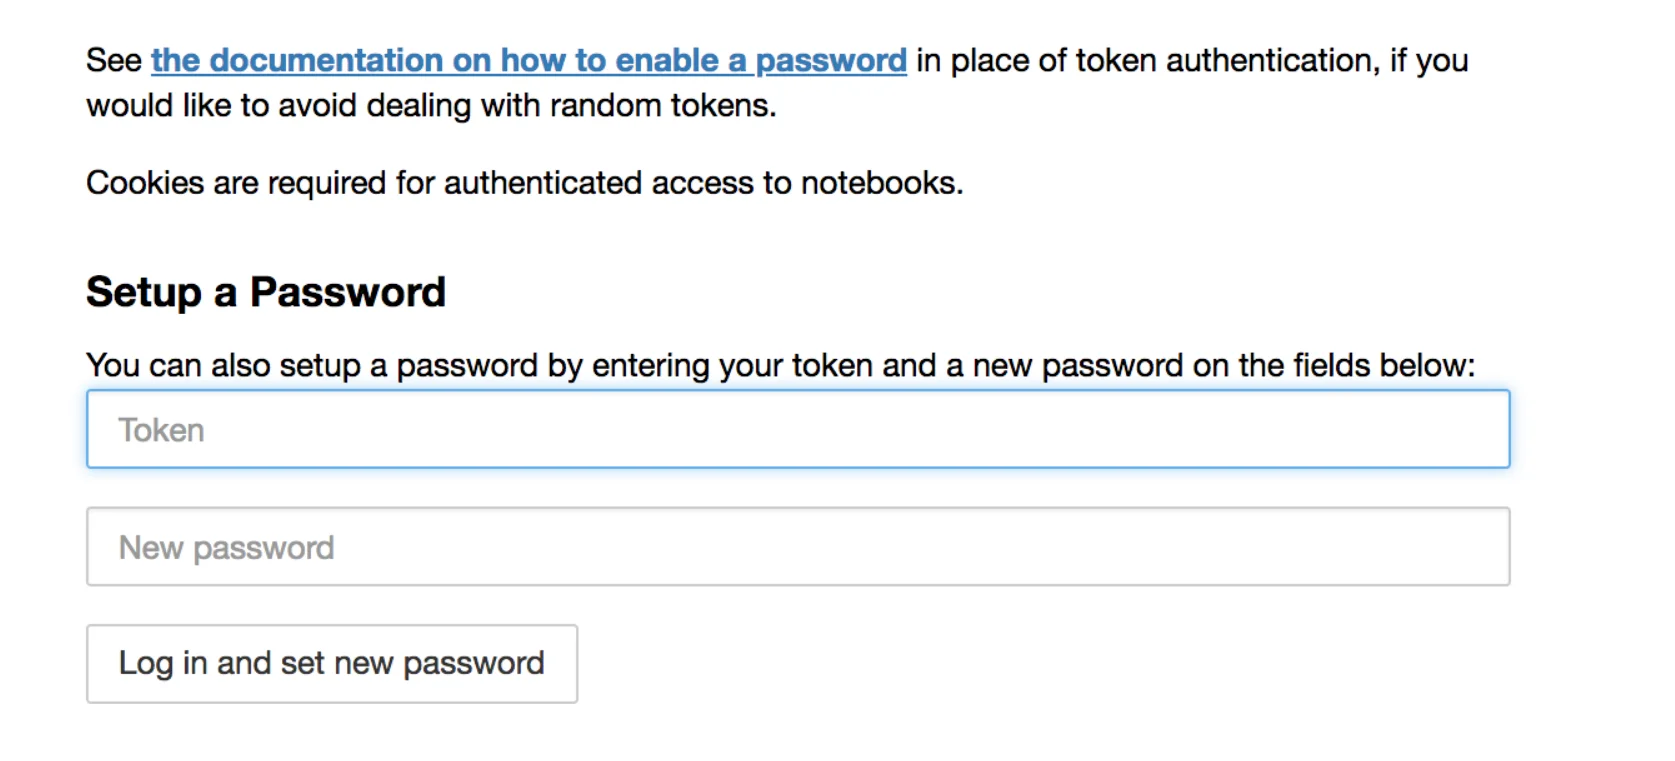
设置密码
默认情况下,Jupyter 通过 token 验证。远程使用每次进容器取 token 很不方便。第一次仍需用 token 登录,然后设置密码:
1
2
3
4
5
|
# 查看 token
docker exec -it jupyter-server jupyter server list
# 用输出链接中的 token 登录网页后,设置你的密码
# 重启 Jupyter
docker restart jupyter-server
|
之后即可用密码登录。
允许远程访问
设置完密码后,工作目录里会出现 jupyter_server_config.json。
初始内容大致如下:
1
2
3
4
5
|
{
  "IdentityProvider": {
    "hashed_password": "your encrypted password string"
  }
}
|
默认不允许远程访问,可加入如下配置开启:
1
2
3
4
5
6
7
8
|
{
  "ServerApp": {
    "allow_remote_access": true
  },
  "IdentityProvider": {
    "hashed_password": "your encrypted password string"
  }
}
|
重启生效:
1
|
docker restart jupyter-server
|
暴露到公网
Rathole 端口转发
现在 Jupyter 已经可以被转发暴露了。这次仍用上次文章提到的 rathole(不了解可参考 /p/expose-your-jellyfin/#port-forwarding)。
反向代理
Jupyter 同时用到 HTTP 与 WebSocket,所以反代要同时支持。
以下是我使用 Nginx 的反代配置示例:
 1
 2
 3
 4
 5
 6
 7
 8
 9
10
11
12
13
14
|
location / {
    # 端口取决于你在 rathole 中的映射
    proxy_pass http://127.0.0.1:8888;
    proxy_set_header X-Real-IP $remote_addr;
    proxy_set_header Host $host;
    proxy_set_header X-Forwarded-For $proxy_add_x_forwarded_for;

    # WebSocket 相关头
    proxy_http_version 1.1;
    proxy_set_header Upgrade $http_upgrade;
    proxy_set_header Connection "upgrade";

    proxy_buffering off;
}
|
